Home Gig create a gig Article
How-to-Edit-Your-Gig-on-Xp Freelancer
Posted on 2024-03-23 Updated on 2024-05-20Are you looking to update or enhance your gig on Xp Freelancer? Keeping your gig information up-to-date and relevant is crucial for attracting potential clients and ensuring your success on the platform. In this tutorial, we'll walk you through the step-by-step process of editing your gig to make it stand out and attract more attention from potential buyers.
Step 1: Log In to Your Xp Freelancer Account
Open your preferred web browser and navigate to the Xp Freelancer website.
Log in to your account using your username and password.
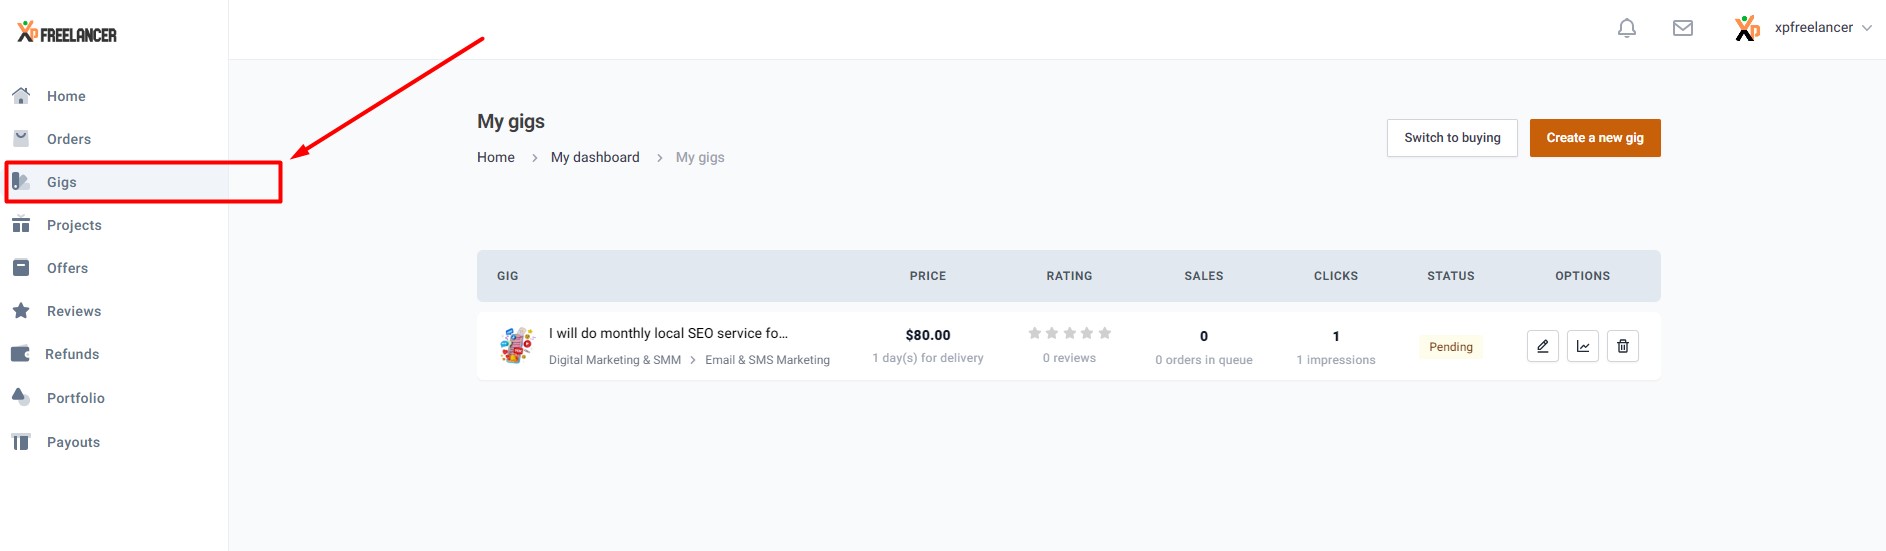
Step 2: Access Your Dashboard
Once logged in, you'll be directed to your dashboard.
Locate the "Gigs" tab or section on your dashboard. This is where you'll find all your active gigs.
Step 3: Select the Gig You Want to Edit
From your list of gigs, identify the one you want to edit and click on it. This will take you to the gig's management page.
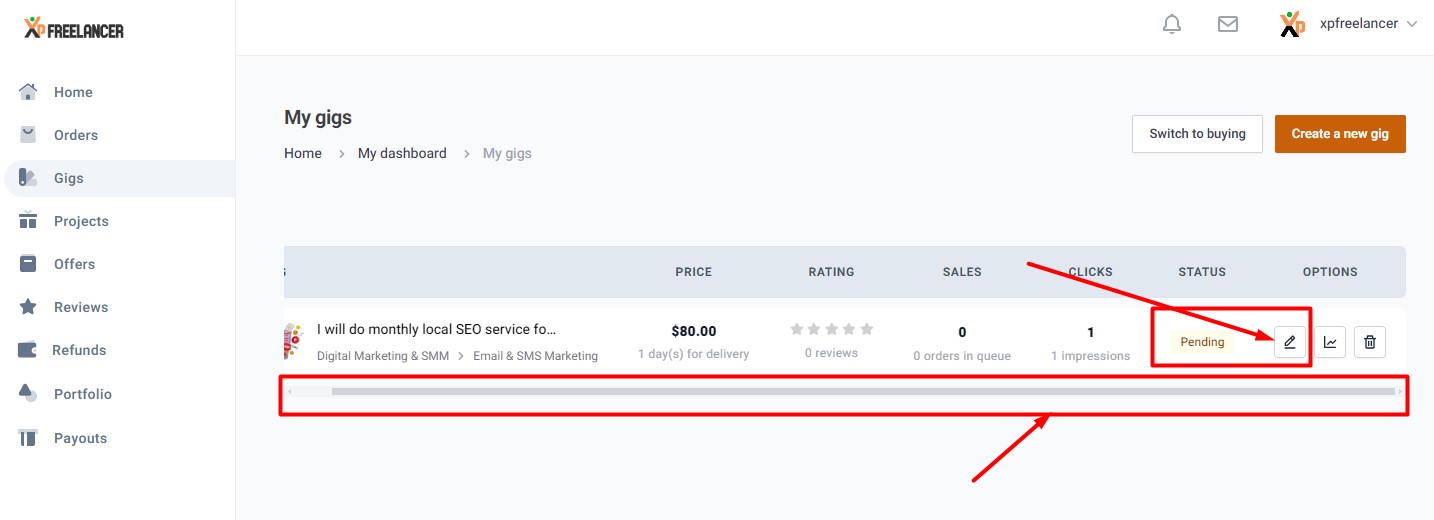
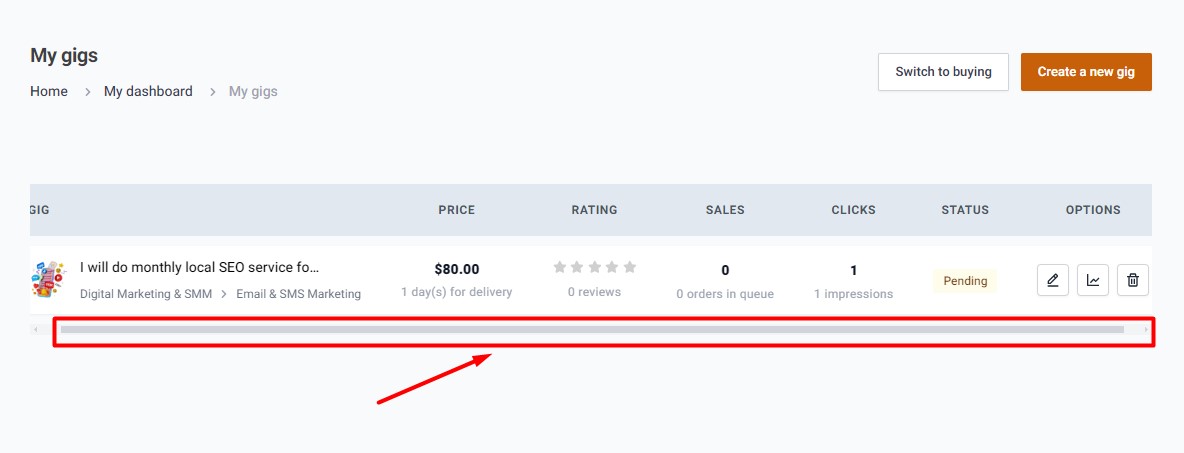
Note: If you don't have the edit option scroll through the tab .
Step 4: Click on the "Edit" Button
On the gig management page, look for the "Edit" button. It's usually located near the top or bottom of the page.
Click on the "Edit" button to proceed to the gig editing interface.
Step 5: Make Your Edits
You'll now be presented with the gig editing interface, where you can update various aspects of your gig.
Here are some elements you can edit:
Gig Title: Make sure your title is descriptive and accurately reflects the service you're offering.
Gig Description: Provide detailed information about your service, including what you offer, your experience, and why buyers should choose you.
Pricing: Adjust your pricing if necessary, taking into account factors such as the complexity of the task, time required, and market demand.
Tags and Categories: Choose relevant tags and categories to help buyers find your gig more easily.
Gig Extras: If applicable, add or modify gig extras to offer additional services or options to buyers.
Images and Videos: Update your gig's visual content to make it more appealing and professional.
Step 6: Preview Your Changes
Before saving your edits, take a moment to preview your gig to ensure everything looks as you intended.
Make any additional adjustments if needed.
Step 7: Save Your Changes
Once you're satisfied with your edits, click on the "Save Changes" or "Update Gig" button to save your changes.
Your gig will now be updated with the new information, and potential buyers will be able to see the changes you've made.
Step 8: Promote Your Updated Gig
After editing your gig, consider promoting it to attract more attention from potential buyers.
Share your gig on social media, forums, or other relevant platforms to increase its visibility.
Congratulations! You've successfully edited your gig on Xp Freelancer. By keeping your gig updated and relevant, you'll improve your chances of attracting more clients and growing your freelance business on the platform.
Found this article helpful?
[ 10 Out of 21 Found Helpful ]

